How to Use a Green Screen: The Ultimate Beginner’s Guide

Level Up Your Workflow
Discover the tools and gear that take your creative projects to the next level


If you’ve ever tried using a green screen and ended up with weird edges, color spill, or just something that didn’t look quite right — don’t worry, you’re not alone.
Using a green screen seems simple in theory: just film in front of something green, remove it in post, and voilà. But in practice? It can go wrong in so many ways.
In this post, I’ll walk you through how to use a green screen properly, step-by-step — the same method I use in professional post-production. Whether you’re creating content for YouTube, a commercial, or a film, this will help you get clean results fast.
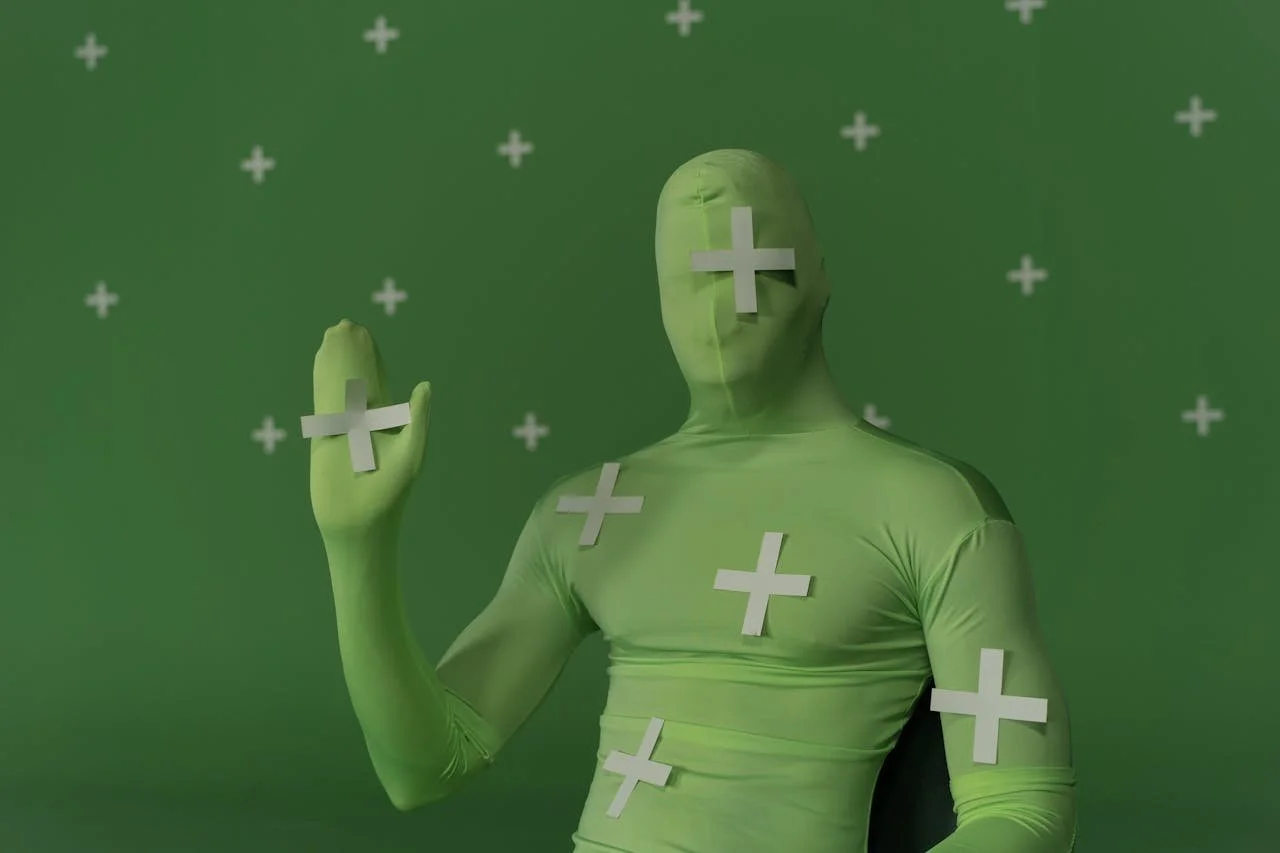
What Is a Green Screen and Why Use It?
A green screen (or chroma key background) lets you replace the background of your video with anything you want — a city skyline, a digital set, outer space, you name it.
It’s one of the most powerful tools in video production. And when done right, it looks seamless.
But the key is exactly that: doing it right. Because a bad green screen setup is impossible to save in post.
Before You Start: A Few Truths About Green Screens
It’s not just about the color — it’s about lighting, distance, material, and camera.
Fixing a bad key in post will cost you time, patience, and hair.
You can get pro results with minimal gear — if you know the fundamentals.
Let’s dive into the practical stuff.
How to Use a Green Screen (Step by Step)
1. Pick the Right Green Screen
You don’t need the most expensive backdrop, but you do need something that’s:
Smooth
Non-reflective
Consistently colored
A cloth or wrinkle-resistant fabric is ideal. Even paper or paint can work — just make sure it’s evenly lit and not shiny.
And yes: green is standard, but if your subject is wearing green, switch to blue.
2. Light the Background Evenly
Lighting makes or breaks your key.
Your green screen should be lit as flat as possible, with no hot spots or shadows. Use softboxes or LED panels placed at 45° angles on each side of the backdrop.
Then, separately light your subject. The goal is to create separation, both physically and in terms of exposure.
Pro tip: Use a small backlight or hair light to help the subject stand out and reduce green spill.
3. Position Your Subject Wisely
Here’s the mistake I see most: the subject is too close to the screen.
Keep at least 1.5–2 meters (5–6 feet) of distance between your subject and the green screen. This prevents:
Shadows falling on the background
Green spill on skin, hair, or clothes
Perspective distortion that’s hard to match in post
Trust me: that small distance makes a huge difference in keying quality.
4. Check Your Camera Settings
You don’t need a RED or ARRI to get a clean key, but your camera settings do matter.
ISO: Keep it low to avoid noise
White balance: Set it manually (not auto)
Resolution: Shoot in the highest you can
Bitrate: Higher = better, especially for compression in post
If you plan to color grade later, shoot in LOG or a flat profile. Clean, neutral footage keys better and gives more control.
5. Key It Out in Post-Production
Once you’re in post, apply your chroma key effect. The process looks something like this:
Use the eyedropper tool to select the green
Tweak thresholds until the background disappears cleanly
Adjust spill suppression to remove leftover green edges
Use masks or garbage mattes to cut out anything unwanted
Software like After Effects, DaVinci Resolve, Premiere Pro, Final Cut, or even OBS can handle this. My personal favorites for precise control are Keylight (AE) and Delta Keyer (Resolve).
Avoid These Common Green Screen Mistakes
Even with the best intentions, it’s easy to mess up a green screen shoot. A couple of small details can ruin your key — and fixing it in post? Not always possible.
Here are a few of the most common pitfalls I see:
Lighting the green screen unevenly, causing hot spots or shadows
Placing the subject too close, which creates ugly green spill on skin and clothes
Using a wrinkled or shiny backdrop — this one is a killer
Honestly, I could go on. There are at least 7 or 8 more things I check before I even hit “record”.
If you want to avoid these issues completely, I’ve put everything into a Green Screen Checklist — the exact workflow I use in studio and on client shoots.
👉 Download the Green Screen Checklist here and keep it on hand for every project.
It’ll save you time, headaches, and a lot of frustration in post.
Want to Nail Every Green Screen Shot?
I created a free tool I wish I had when I started: the Green Screen Checklist.
Inside, you’ll find:
The exact lighting layout I use
Pre-shoot setup reminders
Camera setting cheat sheets
A quick post-production keying workflow
👉 Download the checklist here and keep it on your desk or pinned in your studio.
It’ll save you time, stress, and bad keys — guaranteed.
Final Thoughts
Learning how to use a green screen is like learning to light a scene — it takes a bit of practice, but once it clicks, you’ll wonder how you ever worked without it.
The great thing is: you don’t need a full studio or expensive equipment. Just a solid setup, a clean key, and a good eye in post.
If you’re serious about improving your video work, especially in post-production, make green screen your ally — not your enemy.
And remember, you don’t have to guess. Use the checklist. 😉
Frequently Asked Questions About Green Screen Use
What software can I use to edit green screen footage?
After Effects, Premiere Pro, Final Cut Pro, DaVinci Resolve, OBS Studio, CapCut.
Can I use a green screen without professional lights?
Yes, but you’ll need to diffuse your lighting (with softboxes or even white sheets) and ensure the screen is evenly lit.
What should I wear in front of a green screen?
Avoid anything green or reflective. Neutral, non-patterned clothes work best.


Subscribe to my newsletter to get your Free Colorist Pack!
You will also receive updates on new products, giveaways, exclusive content, and much more!